
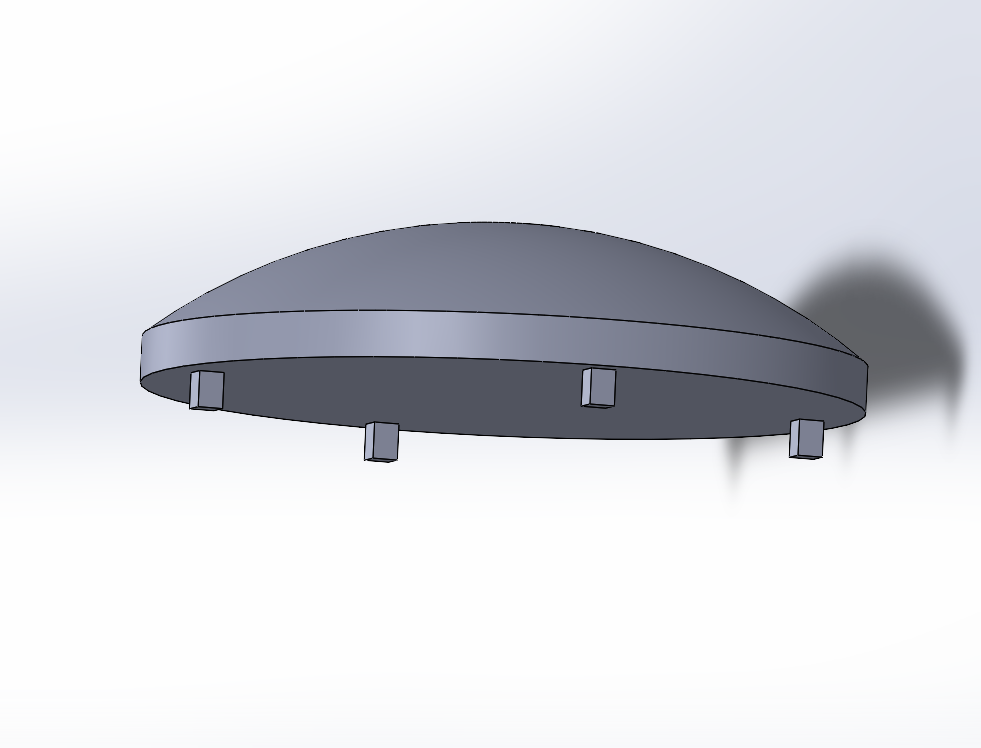
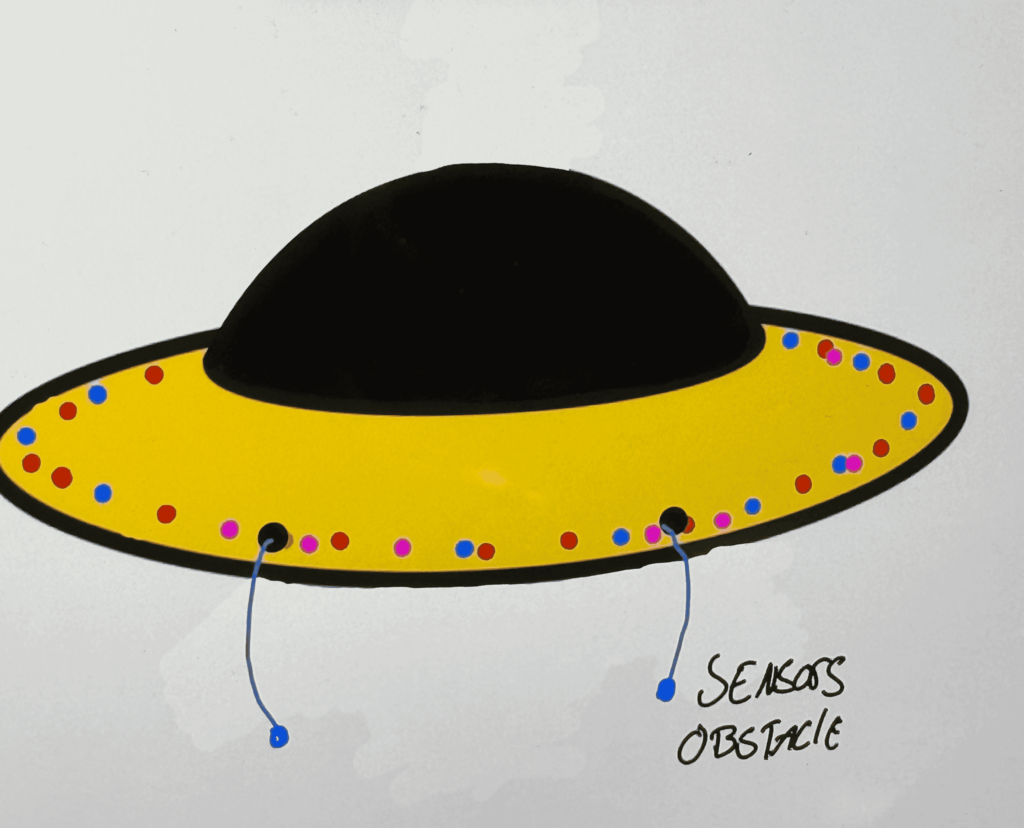
For our micromouse shell, we opted for a UFO-inspired design. The micromouse body is housed within the central compartment of the UFO-shaped shell, while an outer ring surrounding the UFO is adorned with LEDs. We done a sketch of our design, and then translated our vision into a detailed 3D model using SolidWorks, enabling us to fine-tune the design elements and proportions. Subsequently, we brought our design to life through 3D printing, ensuring precision and accuracy in realizing our envisioned shell.
Design Process
Our shell design comprises two essential components: the housing, accommodating the micromouse, and the surrounding ring, which houses the LEDs and touch bar. We start by crafting suitable housing, ensuring it could comfortably contain the micromouse. Given the micromouse chassis diameter of 127mm, we opted for a 154mm housing diameter in SolidWorks, providing a snug fit.
Subsequently, attention turned to the ring encircling the housing. We aimed for a concave profile rather than a flat surface, the chamfer tool was used to achieve a downward concavity, giving the design a distinctive UFO-like appearance. The open-ended top allowed access to the Raspberry Pi without removing the micromouse from the shell.
With the primary design elements in place, we integrated four holes into the front of the housing to accommodate IR sensors, while a cutout on the ring accommodated the touch bar. Additionally, 20 holes were placed on the ring to house the LEDs. Adjustments were then made to the shell’s height to fit the entire micromouse, which stands at 80mm tall. We settled on a shell height of 110mm, providing ample space to accommodate the micromouse and allowing room for potential future component additions.