Shell design initial sketch

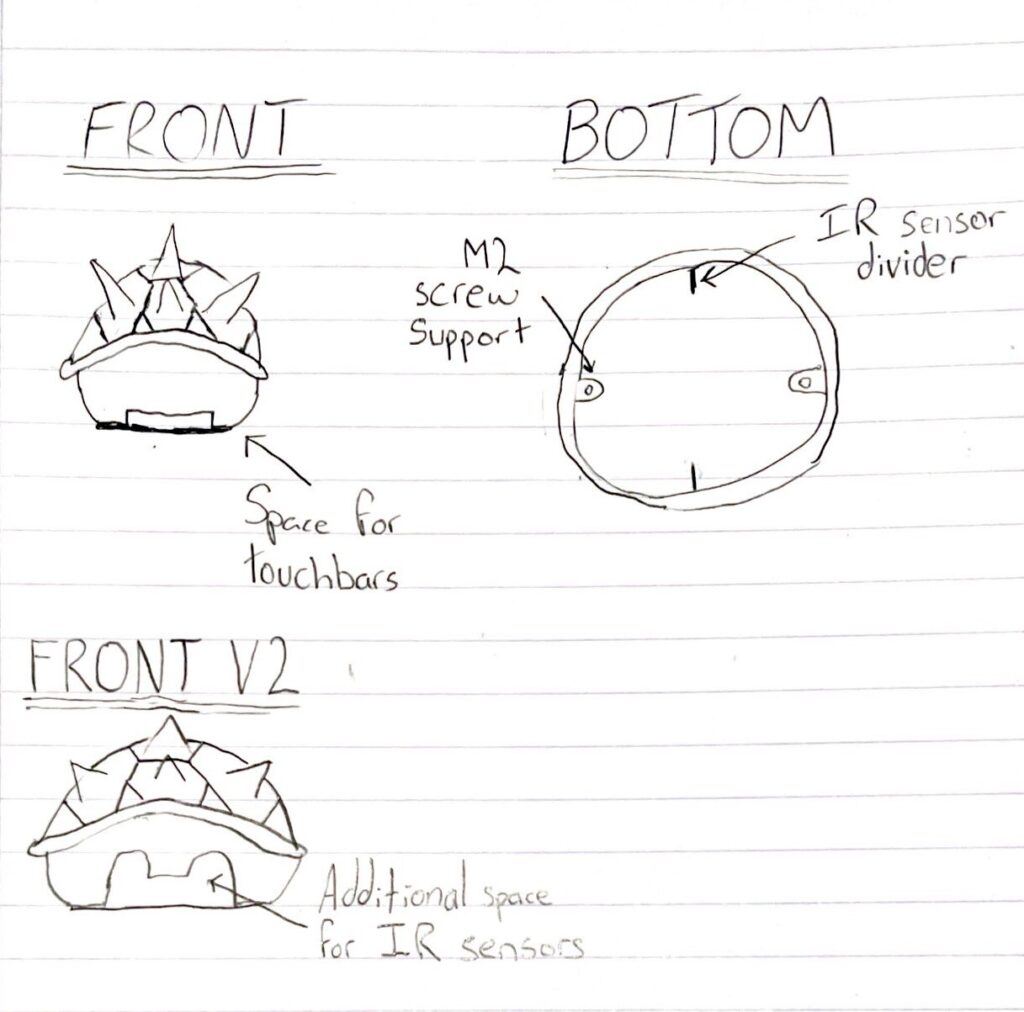
These are the initial sketches of the shell designs that the team envisioned. We based our shell design off of the blue koopa shell from Mario Kart. We considered several factors when we planned our design, such as leaving gaps to accomodate for touch bars and there are also dividers to separate the left and right infra-red sensors at the front and back to reduce the interference of infra-red signals. There are also M2 screw supports so that the shell can be securely attached to the micromouse chassis. Later on the shell design was changed so that the gap at the front accomodated for the infra-red sensors on the PCB as well as the touch bar sensors.
Shell design via SolidWorks
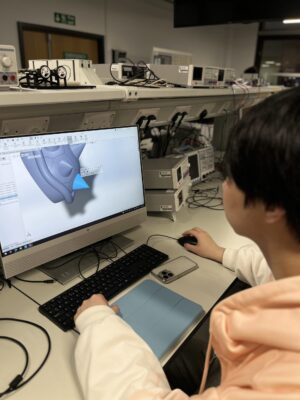
The next step of the shell design was to fabricate the design with computer aided software. Being an engineering student at Swansea Univeristy granted us access to SolidWorks, which was our software of choice for turning a sketch of our design into a reality. Initially several team members attempted to master this software, however Boyang proved to be the best in the team at using SolidWorks so he was assigned the task of creating the shell from scratch. After only a few weeks, Boyang managed to completely design the shell in SolidWorks and exported it to the relevant department to get it 3D printed.

Shell design after 3D printing

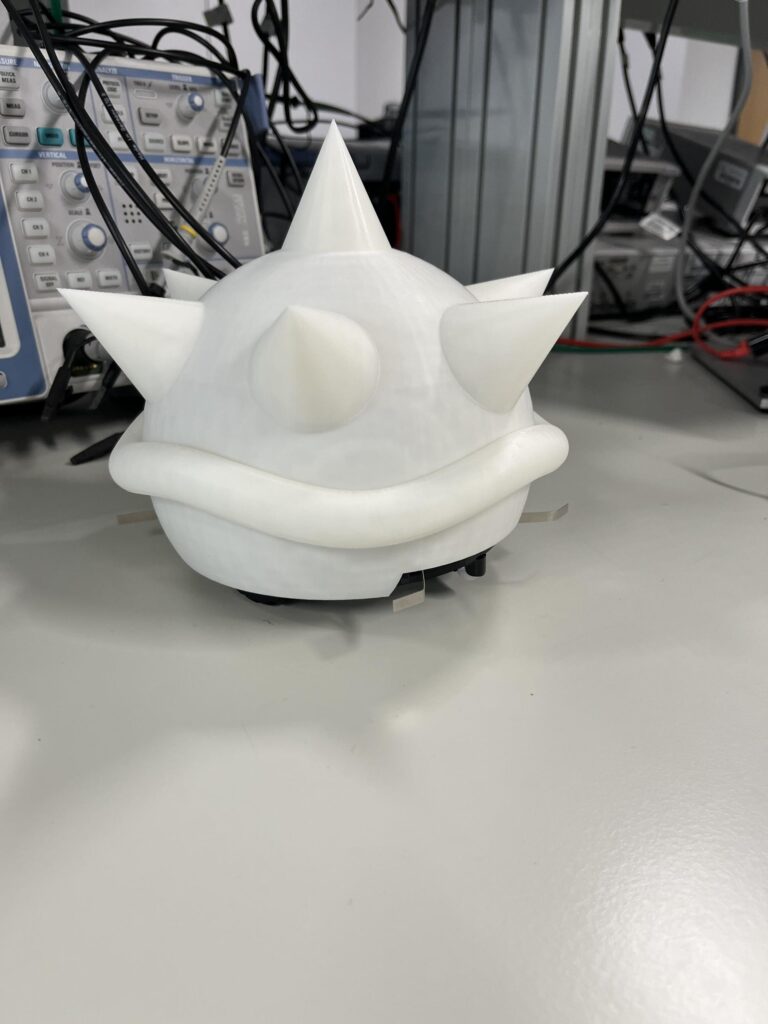
This is the shell after it had been 3D printed. As it can be seen in the image to the left hand side, the result was amazingly accurate when compared to the initial sketch of the design. It should also be noted that the shell had not yet been modified to accomodate for the infra-red sensors.
Shell design with paint job
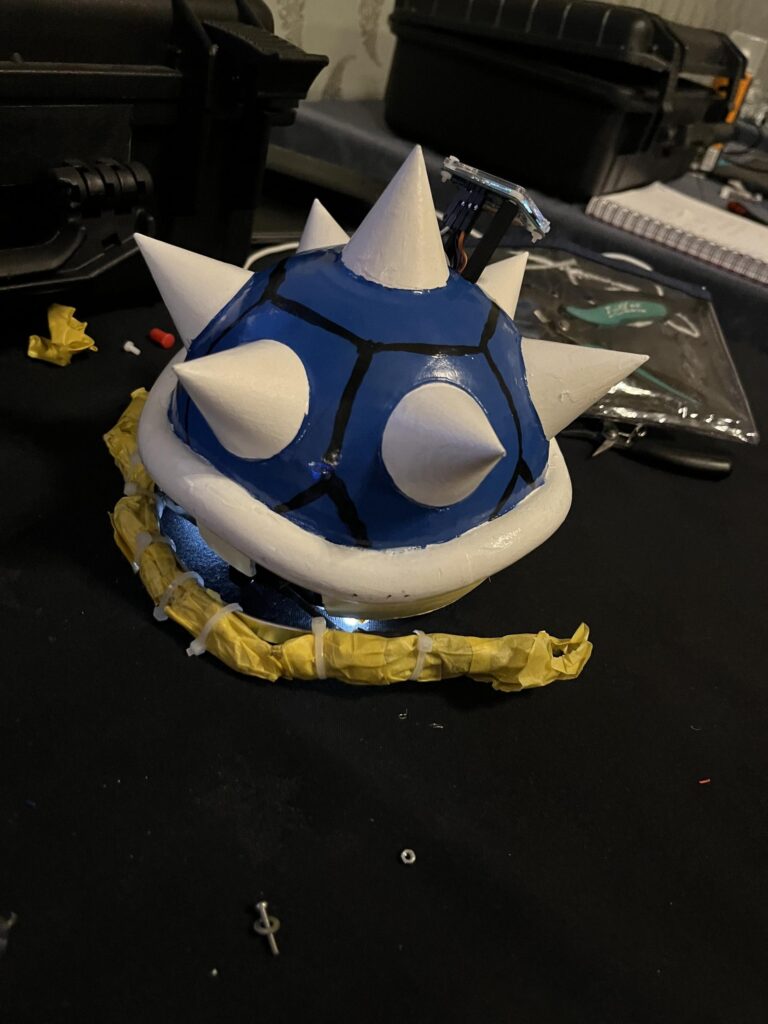
This is the shell design after it had been painted to accurately represent the colours of the blue shell from mario kart. Firstly, a white primer was applied to the outer surface of the shell to smooth out the rigid lines that are present after the initial 3D print of our micromouse shell. The next step was to use a blue acrylic spray paint to quickly paint the main area of the shell and for the finer details such as the black lines and the light yellow bottom normal acrylic paint was used and applied with a paintbrush. Finally, a coat of clear lacquer was applied to give a shiny coat to our micromouse for a better finish and also served as a protective layer.

